How To Setup A Chrome Extension For Inline Installation

In my previous blog post, I made a Chrome extension to make JSFiddle default to jQuery library.  I already uploaded the extension to the Chrome developer dashboard but did not press the “Publish” yet. I want to try and setup a chrome extension for inline installation so users can directly download the extension from this site without going to the Chrome Web store.

What settings to make for Inline Installation?

From the developers dashboard you can click edit to setup the extension. I’ve already published my extension as you can see below, but you can still edit.

Chrome Extension Inline Installation Developer Dashboard

After clicking Edit, the setting for the extension will show up. There is an option for inline install which you need to enable if you want inline installation.

Chrome Extension Inline Installation Inline Install Option

Another important setting is the Websites option. You will need to choose a website linked to your Google account. This will be the site where users will be able to do direct installation of the extension.

Chrome Extension Inline Installation Website Option

These are the two main settings you need to enable to setup a chrome extension for inline installation. You can also fill up options like the Visibility, Price, Language and Description for the chrome extension to give more information about what is the extension is about.

Once everything is setup, click Publish to make the extension available from the Chrome Web Store.
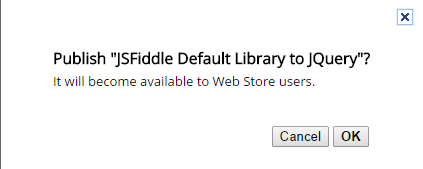
Chrome Extension Inline Installation Publish Prompt message


Installation From the Chrome Web Store

To verify the extension you just published, you can search the Chrome Web Store for the extension. I searched the Chrome Web Store and search results returned this. Cool!

Chrome Extension Inline Installation Chrome Webstore Search

You can also click the extension name from the dashboard and it will take you to the extension page from the Web store.
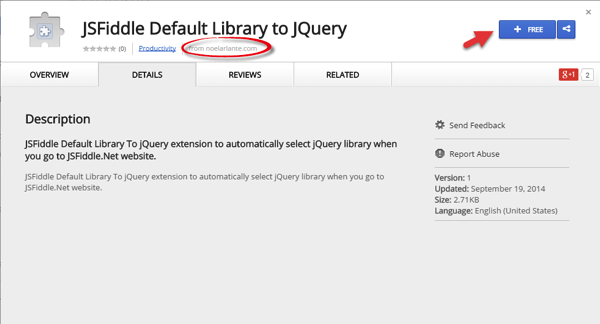
Chrome Extension Inline Installation Extension in Web Store

Go ahead and click the “Free” link to install the extension.

Chrome Extension Inline Installation Install Extension Popup


Setup inline script from the website

Now that the extension is already available from the Chrome Web Store, you can go ahead and setup the links for inline install from your site. I’m using wordpress on my site so most of the setup that I need to do will be from the wordpress admin page of my site.

Add <link> tag in <head>

To add a Chrome web store link to a site you need to add a <link> tag in the <head> of the page you want to add the link. In my case, I can add the script to my wordpress theme page for head script.
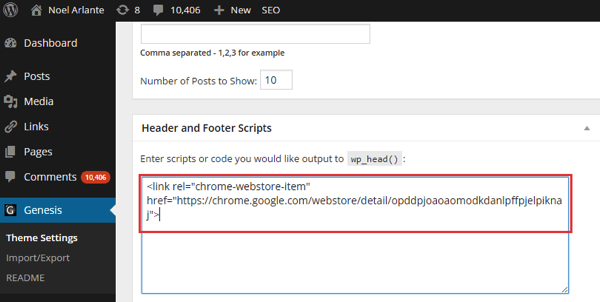
Chrome Extension Inline Installation Head Script


 <link rel="chrome-webstore-item" href="https://chrome.google.com/webstore/detail/itemID"> 

Take note that the itemID is the 32 char latin word of you Chrome extesion.

Add Javascript function call to chrome.webstore.install()

The inline installation will happen if the user clicks a link or trigger an installation. Its not allowed to perform the installation without the user triggering an event. From my site, I added a link to call the chrome.webstore.install() function.

 <ul> <li><a href="#" onclick="chrome.webstore.install()" id="install-link">JSFiddle.Net Default To jQuery Library</a></li> </ul> 
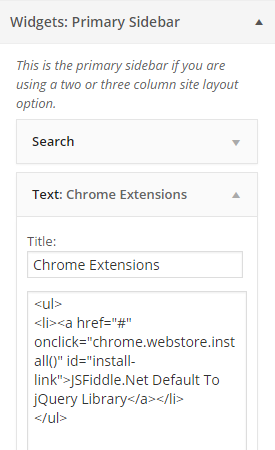
Chrome Extension Inline Installation  Setup Link From WordPress


Test the install from the link

To test the installation, I can click the added link from my site and click Add.
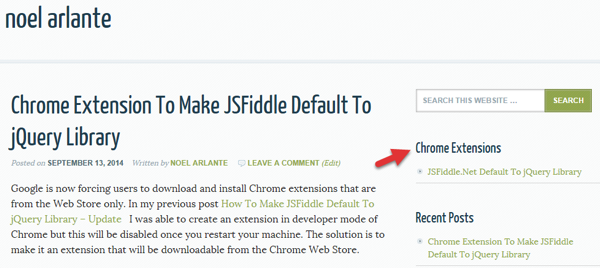
Chrome Extension Inline Installation Link From NoelArlante com

Chrome Extension Inline Installation Test Link

You can then check the installed extension from Chrome://extension. You will notice that the extension does not have the “Not from Chrome Web Store” message below the Enabled checkbox. This means the extension was installed from the Web Store. Nice!

Chrome Extension Inline Installation From Web Store


You can refer to the Inline Install documentation from Google here. I have now an extension that can be installed from the Chrome Web Store or from my site 🙂


Chrome Extension To Make JSFiddle Default To jQuery Library

Google is now forcing users to download and install Chrome extensions that are from the Web Store only. In my previous post How To Make JSFiddle Default To jQuery Library – Update   I was able to create an extension in developer mode of Chrome but this will be disabled once you restart your machine. The solution is to make it an extension that will be downloadable from the Chrome Web Store.

Make a CRX file for the Chrome Extension To Make JSFiddle Default To jQuery Library

Go to chrome://extensions and make sure Developer mode is checked

Chrome Developer mode

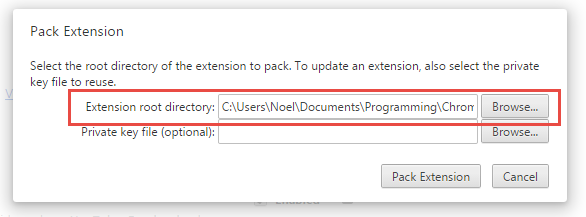
Click Pack extension option and then browse to the directory of extension files and click Pack Extension.

Browse to extension files

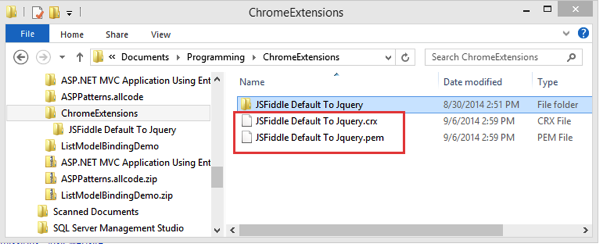
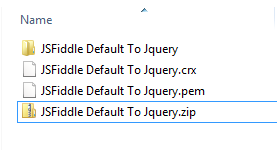
This will create the .crx file and the .pem file for your extension. The .pem file is the key generated as a signature to the extension. Do not lose this file since it will be the same file required when you modify the extension in the future.

JSFiddle Chrome Extension CRX PEM files

Installing the Chrome extension

Once the crx file is created you can now deploy the extension to your Chrome browser. You can do this using Manual Install or by publishing it through the Chrome Web Store.

Manual Install using chrome://extensions

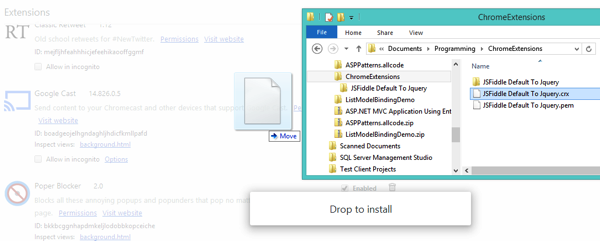
For manual install, you can just drag and drop the .crx file to chrome://extensions page of your Chrome browser.

JSFiddle Chrome Extension To Chrome Extension Manual

The extension will be installed and is functioning but notice there is a message at the right side under the Enabled checkbox “Not from Chrome Web Store”. This is because I just manually installed the extension. This is one way of Google forcing users to get extensions only from the Chrome Web Store.

Crx file installed on extensions

Chrome Web Store

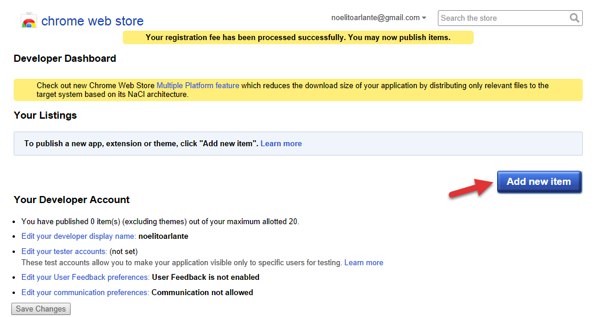
To upload the extension to the Chrome Web Store, you can go to the Chrome Developer Dashboard site.  . You just need to login with your gmail account and may need to pay a one time fee of $5 if its your first time uploading an extension.

Chrome Developer Dashboard

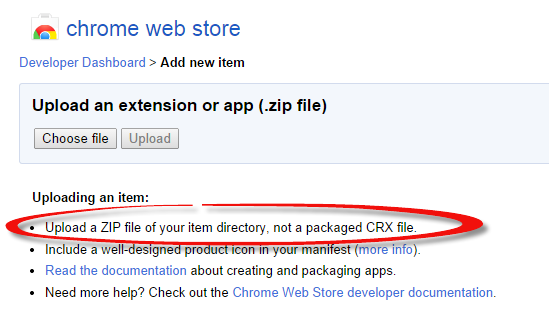
Click Add new item and then choose the file to upload. Note that you need to zip your extension not the crx file. Google will sign the extension with your account signature and they will be the one to create the crx file.

Chrome extension upload a zip

Chrome extension zip file explorer

Once uploaded, the page will show several options you can set for the extension. One of the important setting or option is the website the chrome extension is associated to. This are the website verified by Google under your Google account.


Chrome developer dashboard website option

You can also set the category, language and the pricing for the extension.

Developer dashboard category and pricing option

The extension can also be set as Public, Unlisted or Private for the visibility option. If Public, the extension can be searched from the Chrome Web Store and is available for download for all users. The Unlisted means the extension can be downloaded only by users who has the download link for the extension and its not searchable from the Web Store. Private means only members of the Google Group or specific developer dashboard accounts can only donwload the extension.

Developer dashboard visibility option

After setting up the options for the extension you can click publish and then the extension will be available for download from the Chrome Web store.

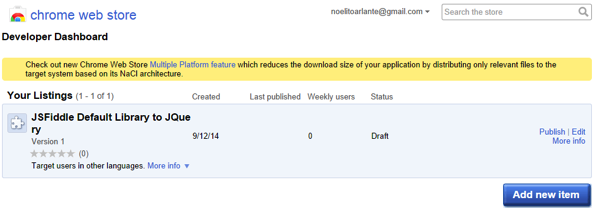
Chrome extension after setup

As you can see I have not published my extension yet. There is another option to make the extension available for download to users which is the Inline installation. For inline installation, the extension is still hosted from the Chrome Web Store but the users can download and install the extension from a link directly from your website. I will talk about more about the inline installation on my next blog post. See you around..


How To Make JSFiddle Default To jQuery Library – Update

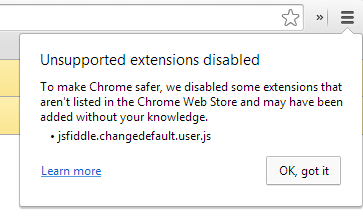
In my resolve to not allow my self to go to the same problem of making JSFiddle default to jQuery library , I installed the user script from JohnKPaul to my Chrome browser as an extension. However, after restarting my machine and opening a Chrome window, there is a warning that “the extension is not from Web Store”

Unsupported Extensions Disabled

The warning message when opening again Chrome.

Chrome Allowing Extensions Only From Web store

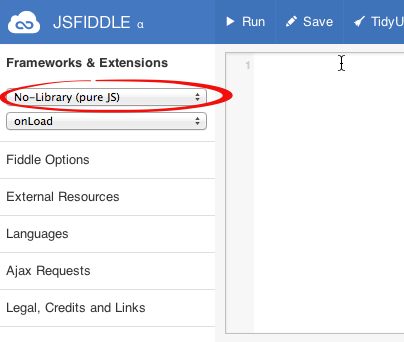
When you go to chrome://extensions you will see that the extension is now disabled and not working. You cannot enable the extension even if you click “Enable”. No extension means JSFiddle will default back to the “No-Library (pure JS)” library.

Disabled User Script Not From Web Store

User script has been disabled by Chrome. There was no way to enable it.

JSFiddle Default Library No JS

Create Chrome extension for the User Script

When I posted How To Make JSFiddle Default To jQuery Library, it was my plan to convert the user script to a Chrome extension to be able to try and create a Chrome extension myself. I always imagine that someday I can create a Chrome extension and send it to the official Chrome Web Store so everyone can download it. So I think creating a Chrome extension will solve the problem of the user script being disabled since it is not from the Web Store.

Steps on creating the Chrome extension

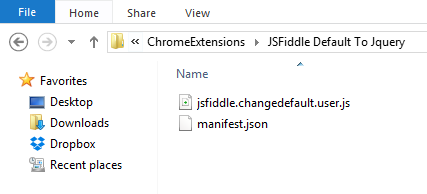
First, create a manifest.json file. This will contain the information about the extension. The existing extensions you have in your Chrome has their own a manifest.json file. They are located in the Chrome extensions folder C:\Users\[user]\AppData\Local\Google\Chrome\User Data\Default\Extensions.


{
"name": "JSFiddle Default Library to JQuery",
"version": "1",
"manifest_version": 2,
"content_scripts": [{
"js": ["jsfiddle.changedefault.user.js"],
"matches": ["http://jsfiddle.net/*"]
}]
}

Then copy the user script to the same location as the manifest.json.

Extension Folder

How to install the Chrome extension

From the Extensions page, click “Developer Mode”

Chrome extensions Developer mode

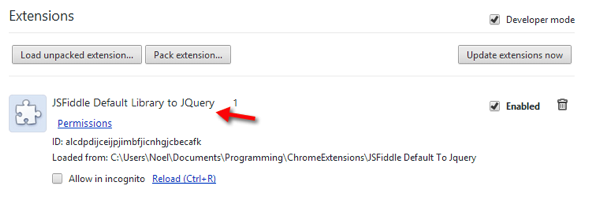
Click Load unpacked extension… and then browse to the location of your manifest.json file. Press “Ok” and then you will notice that the extension is now installed and active from the Extensions page.

Testing the new Chrome extension

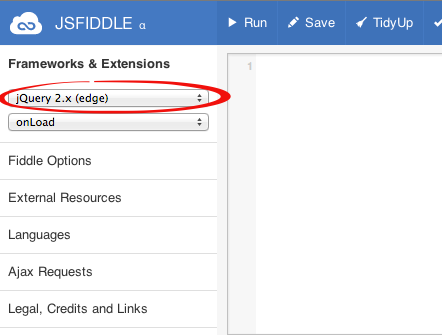
Now that the extension is installed, go to JSFiddle.Net. The extension made JSFiddle default to jQuery library when you create a new script.

Chrome extension Enabled

JsFiddle Default Library jQuery

Warnings when you restart Chrome

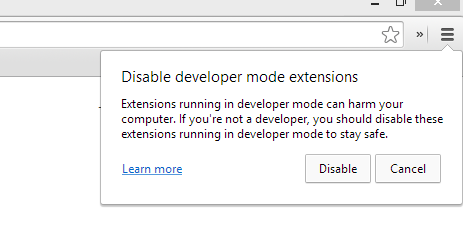
When you restart Chrome you might encounter a warning like the one below.

Disable Developer Mode Extensions Warning

This is a warning to disable developer mode extensions. This is because of the extension added for the user script in developer mode. I will try to make a Chrome extension from the Web Store from this extension in my next post. See you around…