One of the features included in Windows 8 is the Hyper-V client. In the past, the Hyper-V client is only available from Windows 2008 Server OS now you can have the same feature in Windows 8 Pro. Hyper-V, the machine virtualization technology, lets you run multiple operating systems at the same time on the same machine.
I’ve recently purchased a Lenovo W530 laptop which they called “The Beast”. It has Intel 3rd Gen Core i7 and 16Gigs of RAM(up to 32GB) perfect for Windows 8 Pro and Hyper-V. As a developer, I will need all the resources I can get from this machine.
Enabling Hyper-V Feature
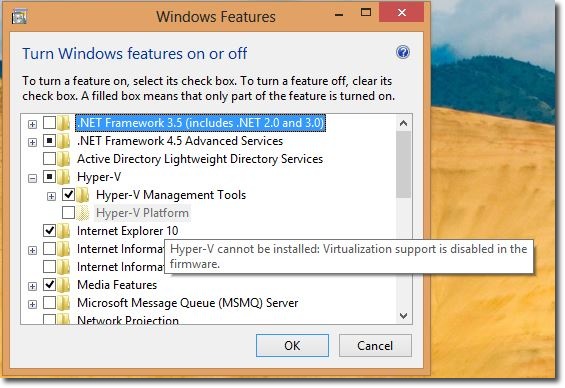
Enabling Hyper-V is simple, just go to Windows 8 features panel to enable. But as you can see below the option for the Hyper-V option is greyed out. Message says “Hyper-V cannot be installed. Virtualization support is disabled in the firmware.”

BIOS Configuration
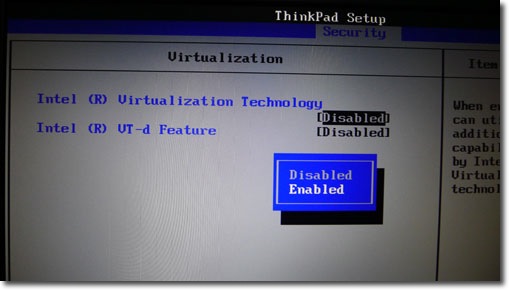
To fix the issue, you need to go to your BIOS and enable the virtualisation option. For Lenovo W530, below is where you can set Virtualization to “Enabled”.

Activating Hyper-V
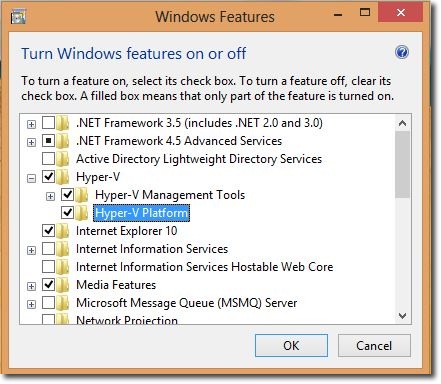
Go back to Windows 8 features and you now can see that the Hyper-V option is enabled.

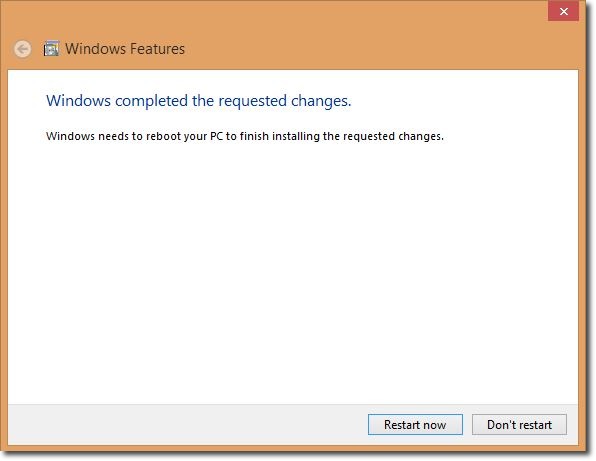
Windows will need to restart after enabling the feature.

After restart, Launch Hyper-V Manager and proceed with creating your virtual machines.

Recent Comments