
I’ve been looking around for email hosting services and found some leads from the HackerNews AskHN site. One of the suggestion is FastMail because of the relatively low pricing, good support and can be setup using your own domain. I’m posting this to share my experience on how to setup Fastmail using your own domain with DNSimple.
FastMail
FastMail setup is a breeze. Upon sign up you can readily use a fastmail domain hosted email (fastmail.com; also there is 30-Day free trial). At this point you can you can basically check if fastmail meets your needs for email hosting e.g. storage size, device / calendar sync, setup your own domain. For me, I’m more interested on how easy it is to setup FastMail using your own domain with DNSimple.
DNSimple
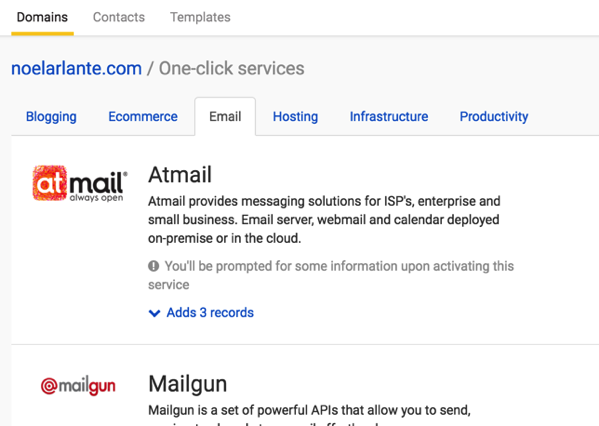
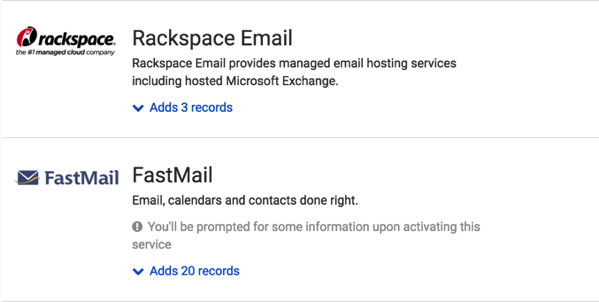
Since 2014, I’ve used DNSimple for my DNS needs also posted here the steps when I changed my DNS provider to DNSimple. They have a one click service that will add dns records to help you setup dns records with known services like FastMail.
Setting Up
First step is from FastMail get the following mail exchange (MX) record values.

Configure these record values in DNSimple by adding the MX records.
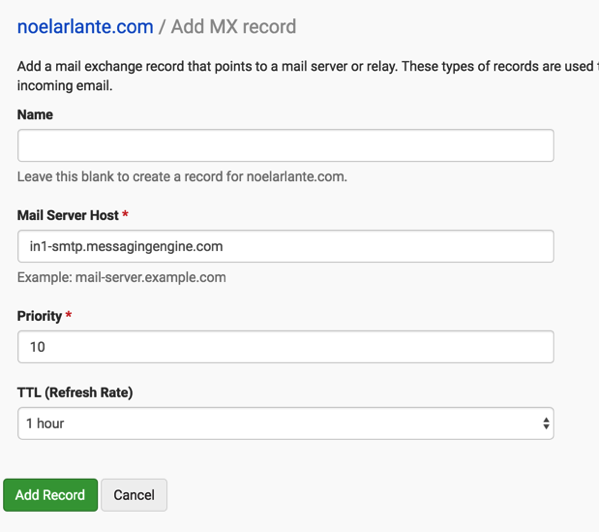
Note: Do the steps above before adding the FastMail One Click Service from DNSImple. I missed these steps the first time so I ended up not completing the setup.
From FastMail, go to Settings -> Domain. Here you can check if proper MX records are set. If yes, you can see a similar message below.

From DNSimple, add the FastMail One Click Service to add DNS records needed by FastMail. You need to input the DKIM value from FastMail to complete the setup from DNSimple.
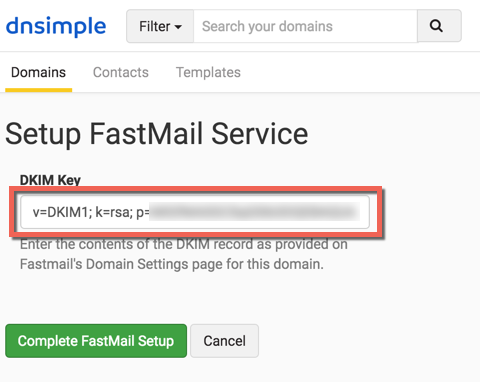
Fastmail will confirm the setup just like the message below.
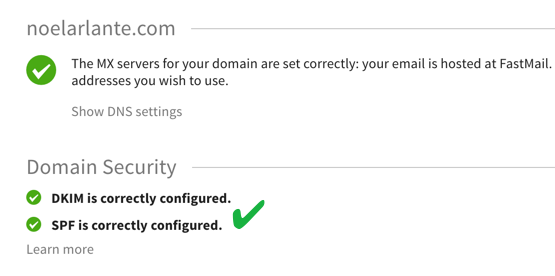
Now you are all set with your own domain email hosting. That’s how easy it is to setup FastMail using your own domain with DNSimple.
Keep in touch!

Recent Comments